
Essential Guide to Mastering Pneumatic Push In Fitting Installation
Installing pneumatic push in fittings correctly is crucial for maintaining the integrity and efficiency of your compressed air system. These innovative connectors have revolutionized the way we establish connections in pneumatic systems, offering a reliable and time-saving solution compared to traditional threaded fittings. Whether you're working on industrial machinery, automation equipment, or a DIY project, understanding the proper installation techniques for pneumatic push in fittings will ensure optimal performance and prevent costly leaks or system failures.
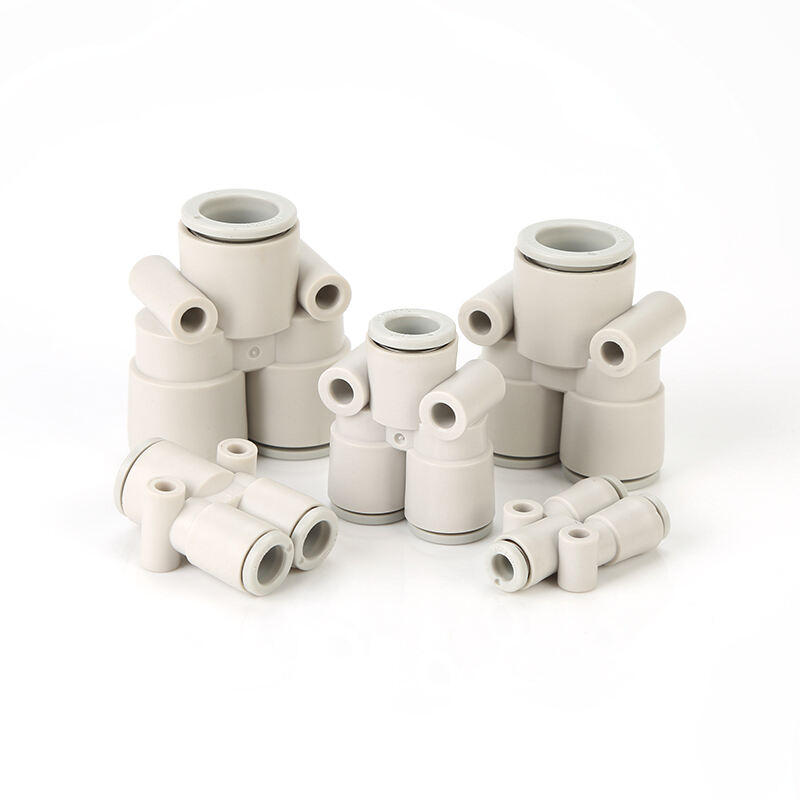
The beauty of pneumatic push in fittings lies in their user-friendly design and versatility. These components feature an innovative gripping mechanism that securely holds the tubing while an internal O-ring creates an airtight seal. By following the correct installation procedures, you'll achieve consistent, leak-free connections that withstand the demands of your pneumatic system.
Understanding Pneumatic Push In Fitting Components
Core Elements and Their Functions
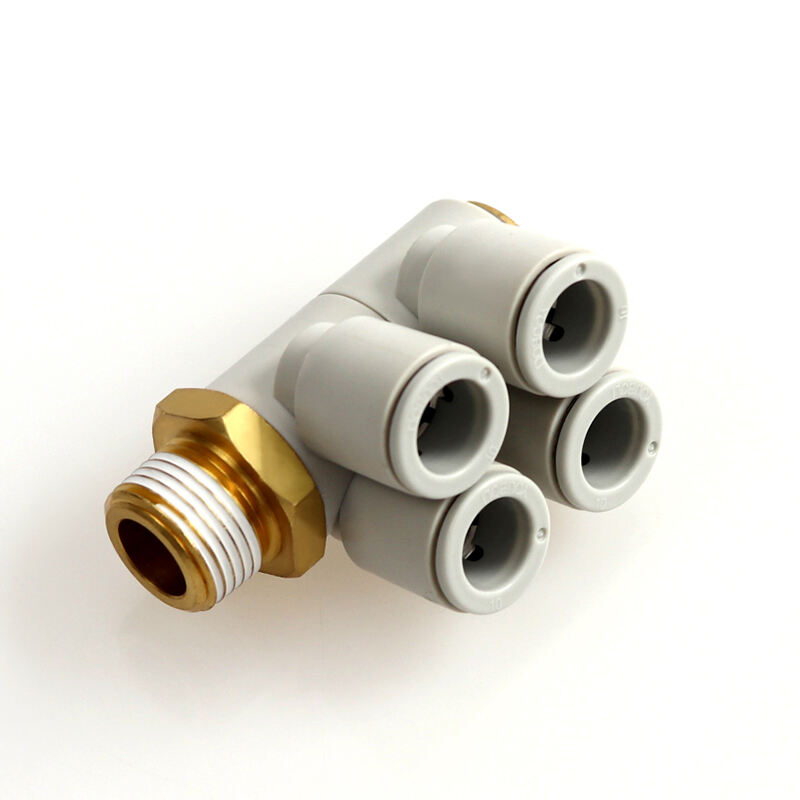
Before diving into the installation process, it's essential to familiarize yourself with the key components of pneumatic push in fittings. The main body houses the collet, a specially designed gripping element that features stainless steel teeth. These teeth grip the tubing firmly when inserted and prevent it from pulling out under pressure. Behind the collet, you'll find an O-ring that creates an airtight seal around the tubing.
The release collar, typically colored for easy identification, allows for quick disconnection when needed. This component is designed to press down on the collet, releasing its grip on the tubing. Understanding these elements helps ensure proper handling and installation of pneumatic push in fittings in your system.
Material Compatibility and Specifications
Selecting the right pneumatic push in fittings requires careful consideration of material compatibility. These fittings are commonly available in various materials, including nickel-plated brass, stainless steel, and engineered polymers. Each material offers specific advantages depending on your application requirements, such as corrosion resistance, temperature tolerance, and pressure ratings.
The tubing material must also be compatible with your chosen fittings. Most pneumatic push in fittings work well with nylon, polyurethane, or polyethylene tubing. Always verify the pressure ratings and temperature ranges of both the fittings and tubing to ensure they meet your system specifications.
Preparation and Safety Measures
Tool and Equipment Requirements
Having the right tools at hand ensures a smooth installation process. You'll need a tube cutter or sharp utility knife for clean, square cuts. A deburring tool helps remove any sharp edges that could damage the O-ring. Consider having a depth gauge or marker to indicate proper insertion depth, and cleaning supplies to ensure all components are free from contamination.
Additional tools might include a compressed air leak detector or soapy water solution for testing connections, and appropriate personal protective equipment such as safety glasses and gloves. Organizing these tools before beginning the installation will streamline the process and help prevent mistakes.
Site Preparation and System Requirements
Before installing pneumatic push in fittings, ensure your work area is clean and well-lit. The system should be depressurized, and any existing connections should be properly cleared of old thread sealant or debris. Check the surrounding space to confirm adequate clearance for both installation and future maintenance access.
Verify that your compressed air system's pressure and flow requirements align with the specifications of your chosen pneumatic push in fittings. Consider factors such as vibration, temperature fluctuations, and environmental conditions that might affect the long-term performance of the connections.
Installation Process and Techniques
Proper Tubing Preparation
The success of your pneumatic push in fitting installation begins with proper tubing preparation. Use a tube cutter to make clean, perpendicular cuts - avoid using scissors or wire cutters as they can create oval or damaged ends. After cutting, examine the tube end carefully for any burrs, chips, or irregular surfaces.
Use a deburring tool to smooth any sharp edges on both the inner and outer surfaces of the tube. This step is crucial as rough edges can damage the O-ring seal during insertion. Clean the tube end thoroughly to remove any debris or oils that could compromise the connection.
Correct Assembly Methods
When installing pneumatic push in fittings, begin by inspecting the fitting for any damage or contamination. Insert the prepared tubing into the fitting with a firm, straight push until you feel it reach the tube stop. The tube should insert smoothly without excessive force - if you encounter resistance, stop and check for proper alignment or potential issues.
Once inserted, mark the insertion depth on the tubing using a permanent marker. This reference point helps you verify that the tube remains fully seated over time. Gently pull back on the tube to ensure the collet has properly engaged and is holding the tube securely.
Testing and Verification
Pressure Testing Procedures
After installing pneumatic push in fittings, thorough testing is essential to ensure system integrity. Begin with a low-pressure test, gradually increasing to operating pressure while monitoring for leaks. Apply a leak detection solution around all connections and observe for any bubble formation that would indicate a leak.
Maintain the test pressure for at least 10 minutes to verify the stability of all connections. Pay special attention to any joints that may be subject to movement or vibration during normal operation. Document all test results for future reference and maintenance records.
Common Installation Errors and Solutions
Even experienced technicians can encounter issues when installing pneumatic push in fittings. Watch for signs of improper insertion, such as tubes that aren't fully seated or those that pull out under pressure. If you notice any misalignment or resistance during insertion, remove the tube and check for damage to both the tube and fitting.
Address any leaks immediately by depressurizing the system and reinspecting the connection. Sometimes, simply removing and reinserting the tube after checking for damage can resolve the issue. If problems persist, replace any damaged components to maintain system integrity.
Maintenance and Troubleshooting
Regular Inspection Protocols
Establish a routine maintenance schedule for your pneumatic system, including regular inspection of all pneumatic push in fittings. Check for signs of wear, damage, or contamination that could affect performance. Verify that all tubes remain fully inserted to their original depth marks and that no connections show signs of leakage.
Monitor system pressure and flow characteristics regularly, as changes could indicate developing issues with fittings or connections. Keep detailed maintenance records to track the performance and longevity of your pneumatic push in fittings over time.
Long-term Care and System Optimization
To maximize the lifespan of your pneumatic push in fittings, maintain clean, dry air throughout your system. Install and regularly service air filters and dryers to prevent contamination. Consider implementing predictive maintenance techniques, such as ultrasonic leak detection, to identify potential issues before they become serious problems.
Stay informed about new developments in pneumatic fitting technology and best practices. As your system ages, evaluate whether upgrading to newer fitting designs could improve efficiency or reliability. Remember that proper care and maintenance of pneumatic push in fittings contribute significantly to the overall performance of your pneumatic system.
Frequently Asked Questions
How do I know if my pneumatic push in fitting is properly sealed?
A properly sealed pneumatic push in fitting will hold pressure without leaking, and the tube will resist pulling out when given a firm tug. After installation, use a leak detection solution to verify the seal, and monitor the connection during initial pressurization. The tube should be inserted fully to the tube stop, and you should see your depth mark aligned with the fitting entrance.
Can I reuse pneumatic push in fittings after disconnection?
Most pneumatic push in fittings are designed for multiple connections and disconnections. However, inspect both the fitting and tube for damage before reuse. Check the O-ring for wear or damage, and ensure the collet moves freely. If you notice any degradation or damage, replace the fitting to maintain system integrity.
What are the most common causes of leaks in pneumatic push in fittings?
Common causes of leaks include improper tube preparation (such as burrs or uneven cuts), insufficient insertion depth, damaged O-rings, contamination, and using incompatible tubing materials. Regular inspection and maintenance, proper installation techniques, and using high-quality components can help prevent most leakage issues.