
Introducere
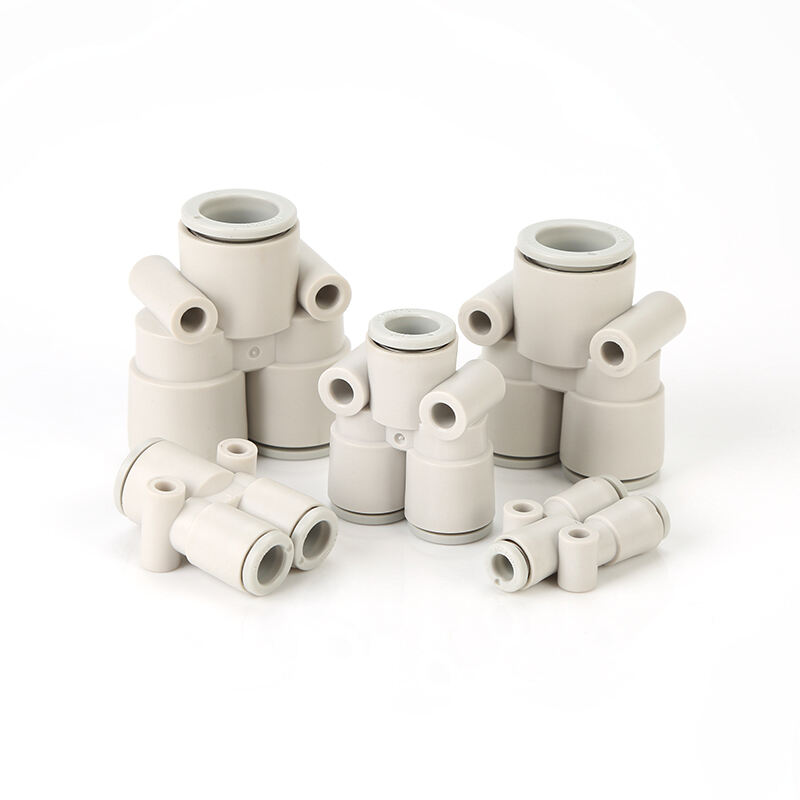
Vă este familiară oprirea neașteptată, scurgerile de aer greu de identificat și problemele persistente de performanță în sistemele pneumatice? Dacă ați întâmpinat vreodată o scădere bruscă a presiunii sau ați văzut cum un tub sare neașteptat din racordul său, știți deja cât de mari pot fi consecințele unor componente care par minore, ajungând să oprească întreaga linie de producție. Conectori Pneumatice de Introducere , deși proiectate pentru simplitate și eficiență, pot deveni surse importante de probleme dacă nu sunt corect alese, instalate sau întreținute.
Acest ghid cuprinzător analizează în detaliu probleme comune problemele asociate racordurilor pneumatice de tip push-in și oferă soluții practice, susținute de experți indiferent dacă sunteți un tehnician de întreținere pe linia de producție sau un inginer proiectant care specifică componente, acest articol vă va oferi cunoștințele necesare pentru a depana eficient, a preveni defectările viitoare și a vă asigura că sistemele pneumatice funcționează la un nivel maxim de fiabilitate și eficiență. Vom depăși sfaturile de bază și vă vom oferi informații bazate pe date și sfaturi profesionale care vă pot economisi mii de dolari în pierderi de productivitate și costuri energetice.
De ce este esențială înțelegerea acestor probleme pentru performanța sistemului
Ignorarea complexității racordurilor rapide este o greșeală costisitoare. Acestea sunt nodurile critice din rețeaua pneumatică, iar eșecul lor are un impact disproporționat asupra întregului sistem.
Impactul financiar al scurgerilor: Aerul comprimat este notoriu scump de produs. Un studiu al Departamentului de Energie al Statelor Unite evidențiază faptul că o singură scurgere de 3 mm într-un sistem de 0,7 MPa (100 psi) poate risipi peste 1000 de dolari anual în costuri de electricitate . Înmulțiți acest lucru cu mai multe scurgeri și pierderea financiară devine semnificativă. Gestionarea corectă a îmbinărilor contribuie direct la rezultatul dvs. financiar.
Calitatea Produsului și Eficiența Producției: Timpul de oprire neplanificat este dușmanul producției. Un eșec la o îmbinare poate opri o mașină, perturbând programul de producție și ducând la ratearea termenelor limită. În plus, fluctuațiile de presiune cauzate de scurgeri pot duce la viteze și forțe neuniforme ale actuatorilor, compromițând direct calitatea produsului în aplicații precise, cum ar fi asamblarea sau ambalarea.
Implicații privind Siguranța: În aplicațiile cu presiune ridicată, un tub ejectat violent sau o îmbinare care cedează sub presiune poate deveni un proiectil periculos, punând în pericol siguranța personalului. Asigurarea integrității îmbinărilor este un aspect esențial și incontestabil al siguranței în locul de muncă.
Un Ghid Rapid: Cum Funcționează Îmbinările cu Împingere
Pentru a depana eficient, este esențial să înțelegeți mecanismul de bază. O îmbinare cu împingere funcționează pe baza unui design simplu, dar ingenios:
Inelul O: Asigură etanșarea statică principală față de tub.
Mufa (Inel de Prindere): Un inel cu arc care are dinți interni ascuțiți ce pătrund în tub la montare, împiedicându-l să fie împins afară de presiune.
Mansonul de Eliberare: La apăsare, mansonul de eliberare debraconează mufa, permițând îndepărtarea tubului.
Problemele apar atunci când una dintre componentele acestui trio - tubul, inelul O sau mufa - este defectuoasă.
Problema Obișnuită 1: Scăpări de Aer (Cel Mai Des Întâlnit Deranj)
Ce este:
Aerul care scapă din punctul de conexiune dintre tub și corpul racordului. Aceasta poate fi o scârțâială constantă sau o scurgere lentă, greu de detectat.
Motivul Apariției și Modalitatea de Rezolvare:
-
Cauză: Capătul țevii deteriorat sau pregătit necorespunzător.
Scenariu: Utilizarea cleștelui lateral sau a unui cuțit creează un capăt de țeavă neregulat, înclinat sau turtit.
Soluție: Utilizați întotdeauna un clește special pentru tăiat țevi. Acesta asigură o tăietură curată și dreptunghiulară. După tăiere, îndepărtați bavurile atât din interior, cât și din exterior cu grijă. O singură bavură mică poate zgâria inelul O în timpul montării, creând o cale de scurgere.
Sfat pentru profesionist: Țineți capătul țevii debavurat împotriva unei surse de lumină puternice. Dacă observați lumină în jurul marginilor sau printr-un capăt necaroiat, tăiați și debavurați din nou.
-
Cauză: Țeava nu este complet introdusă.
Scenariu: Țeava pare a fi introdusă, dar nu a ajuns până la capăt. Dinții mufei sunt doar parțial angrenați.
Soluție: Înainte de a aplica presiune, trageți ferm de tub pentru a verifica dacă este blocat. Marcați adâncimea de inserție pe tub cu un marker, ca un ajutor vizual în timpul instalării. Un tub complet inserat va avea capătul nivelat cu opritorul intern al racordului.
-
Cauză: Inel O uzat sau deteriorat.
Scenariu: Inelele O pot degrada în timp din cauza temperaturii, calității necorespunzătoare a aerului (uleiuri, substanțe chimice) sau pur și simplu din uzură.
Soluție: Verificați periodic inelul O. Pentru întreținere, păstrați un kit cu dimensiuni comune de inele O. La înlocuire, aplicați o cantitate mică de grăsime pe bază de silicon (compatibilă cu sistemul dumneavoastră de aer) pe noul inel O și pe capătul tubului, pentru a facilita inserția și a prelungi durata de viață.
Problema frecventă 2: Scurgere puternică a tubului (Defecțiunea catastrofală)
Ce este:
Tubul este expulzat violent din racord atunci când sistemul este sub presiune, adesea însoțit de un zgomot puternic și de o scădere bruscă a presiunii.
Motivul Apariției și Modalitatea de Rezolvare:
-
Cauză: Nepotrivirea tipului și durității tubului.
Scenariu: Utilizarea unui tub flexibil (de exemplu, anumite amestecuri de cauciuc sau PVC) conceput pentru fitinguri cu muchii. Dinții mufei nu pot obține o prindere suficient de puternică în materialul mai moale.
Soluție: Utilizați exclusiv tub flexibil din poliuretan (PU) dur sau nylon destinat fitingurilor rapide. Aceste materiale au exact duritatea necesară pentru ca dinții mufei să poată prinde eficient. Verificați specificațiile producătorului atât pentru fiting, cât și pentru tub.
-
Cauză: Diametru exterior (OD) incorect al tubului.
Scenariu: Utilizarea unui tub de 9/64" într-un fiting de 6 mm (sunt foarte apropiate, dar nu identice). Diferența minimă împiedică o prindere sigură.
Soluție: Fiți conștienți de diferența dintre sistemul metric și imperial. Nu amestecați niciodată dimensiunile. Utilizați un subler pentru a verifica dacă diametrul exterior al tubului corespunde exact dimensiunii specificate pentru fiting. Acesta este un pas critic în controlul calității.
-
Cauză: Vibrații excesive ale sistemului.
Scenariu: Fitingurile montate pe echipamente cu vibrații intense (de exemplu, mașini de găurit, ferăstraie) pot suferi „deplasarea tubului”, adică tubul se deșurubează treptat în timp.
Soluție: În mediile cu vibrații intense, utilizați cleme pentru țevi pentru a fixa traseul tubului la fiecare câțiva metri. Acest lucru absoarbe vibrațiile și previne transmiterea efortului asupra conexiunii fitingului. Luați în considerare utilizarea fitingurilor cu o clasă mai mare de rezistență la vibrații.
Problema frecventă 3: Dificultate în inserarea sau scoaterea țevii
Ce este:
Țeava este extrem de greu de introdus, sau manșonul de eliberare este dificil de apăsat pentru a îndepărta țeava.
Motivul Apariției și Modalitatea de Rezolvare:
-
Cauză: Collet deteriorat sau contaminare.
Scenariu: Forțarea unei țevi deteriorate sau necorespunzător aliniate poate îndoi dinții colletului. Praful, murdăria sau așchiile metalice pot bloca mecanismul.
Soluție: Nu forțați niciodată o țeavă. Asigurați-vă întotdeauna că este tăiată drept. Dacă fitingul este blocat, deconectați-l de la sistem și spălați-l cu aer curat sau un solvent blând. Dacă se observă deteriorarea colletului, înlocuiți întregul fiting. Nu este reparabil.
-
Cauză: Tubulatura este îndoită sau deformată la capăt.
Scenariu: Manipularea necorespunzătoare sau utilizarea unor unelte butucioase pot turti capătul tubului.
Soluție: Tăiați secțiunea deteriorată și pregătiți un capăt curat și nou. Depozitați corect bobinele de tubulatură pentru a evita îndoirile.
Problema frecventă 4: Debit de aer limitat și scădere de presiune
Ce este:
Sistemul întâmpină dificultăți în menținerea presiunii sau actuatorii se mișcă lent, chiar și în absența unei scurgeri evidente.
Motivul Apariției și Modalitatea de Rezolvare:
-
Cauză: Fitinguri dimensionate insuficient.
Scenariu: Utilizarea unui fitting de Ø4mm pe un racord de actuator cu debit mare creează un colac de sticlă, reducând drastic debitul și creșterea consumului de energie.
Soluție: Calculați cerințele de debit ale sistemului (SCFM sau L/min) și selectați fitinguri cu un diametru interior care să se potrivească sau să depășească dimensiunea racordului componentelor (supape, cilindri) pe care le conectați. Nu creați o restricție de debit doar pentru a utiliza un fitting mai mic și mai ieftin.
Întreținere proactivă și Lista de bune practici
Prevenția este întotdeauna mai bună decât remedierea. Introduceți aceste practici în rutina dumneavoastră:
Audite planificate pentru scurgeri: Utilizați un detector de scurgeri ultrasonic pentru a verifica anual sau bianual instalația dumneavoastră. Acesta poate identifica chiar și cele mai mici scurgeri.
Inspecții Vizuale: Verificați periodic racordurile pentru semne de deteriorare fizică, coroziune sau țevi slăbite.
Kit de piese de schimb: Păstrați un stoc mic de dimensiuni comune de racorduri și inele O-ring pentru a facilita reparațiile rapide și a reduce la minimum timpul de nefuncționare.
Formarea Operatorilor: Asigurați-vă că orice persoană care conectează sau deconectează țevile este instruită corespunzător: tăiere dreptă, îndepărtarea așchiilor, marcarea adâncimii, împingerea până la clic și, întotdeauna, testarea prin tragere.
Concluzie: Fiabilitatea stă în detalii
Conectori Pneumatice de Introducere sunt minuni ale simplității inginerești, dar fiabilitatea lor depinde în totalitate de aplicarea, instalarea și întreținerea corectă. Cele mai frecvente probleme – scurgeri, spargerii și restricții ale debitului – pot fi aproape întotdeauna prevenite. Înțelegând cauzele profunde și implementând soluțiile prezentate în acest ghid, puteți transforma aceste puncte potențiale de eșec în piloni ai unui sistem pneumatic robust, eficient și sigur.
Investiția în componente de calitate de la producători consacrați, utilizarea uneltelor potrivite și respectarea practicilor recomandate își vor amortiza de multe ori costul prin reducerea facturilor de energie, eliminarea timpilor de nefuncționare și asigurarea unei calități constante în producție.
Cuprins
- Introducere
- De ce este esențială înțelegerea acestor probleme pentru performanța sistemului
- Un Ghid Rapid: Cum Funcționează Îmbinările cu Împingere
- Problema Obișnuită 1: Scăpări de Aer (Cel Mai Des Întâlnit Deranj)
- Problema frecventă 2: Scurgere puternică a tubului (Defecțiunea catastrofală)
- Problema frecventă 3: Dificultate în inserarea sau scoaterea țevii
- Problema frecventă 4: Debit de aer limitat și scădere de presiune
- Întreținere proactivă și Lista de bune practici
- Concluzie: Fiabilitatea stă în detalii